LED Lighting for the Bandai Millennium Falcon 1/144
I saw a few other really impressive builds that used fiber optics and custom-drilled light holes all over, but I wasn't ready for wiring and soldering and all that just yet. Instead, I had the idea of using a USB power bank and some cheap USB-powered LEDs.
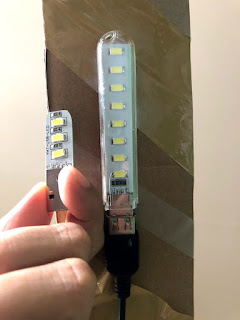
First test for the lighting setup that wouldn't fit
I looked through Shopee and found these really cheap USB-powered LEDs and a USB toggle switch (around $2 total!) that I thought to position beneath the removable panel at the underside of the kit. You can probably find these too on Ebay or Aliexpress or the like. The LEDs were surprisingly bright and the switch worked really well. The problem was that none of it would fit inside the kit. I shaved off some of the LED's circuit board and cut off some support pegs inside model, but they still wouldn't fit.
I searched again and ordered a cheap knock-off LEGO lighting kit.
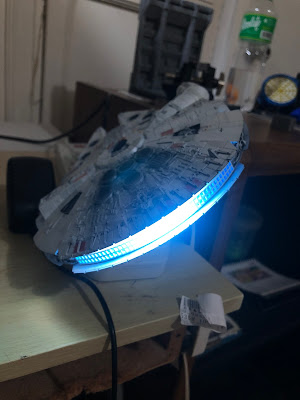
It took another while to arrive from China and it looked extra cheap. The 4-peg pieces were poorly hot-glued on and the wires weren't even shielded. But hey, it worked and it fit.
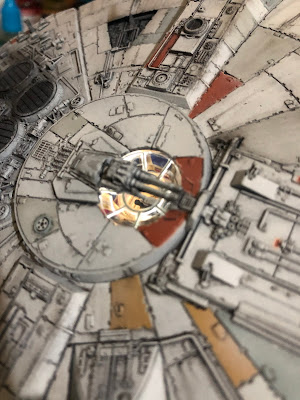
The LEGO pieces turned out to be useful for gluing the LEDs into position. I did the engine lighting first. Then I positioned some LEDs behind the turret wells where I thought to file off most of the plastic at the back of each piece until they were thin enough for light to shine through.
First test with the LEGO setup. It actually fits.
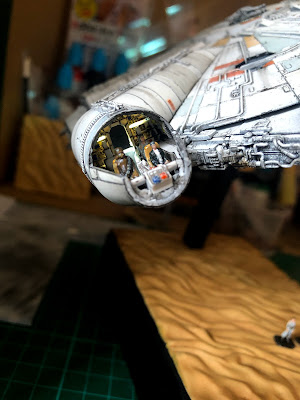
The last LEDs were for the tunnel to the cockpit, which turned out to be the most troublesome because of light bleeding.
I scribed on the panel lines until the plastic was thin enough for some light to shine through. Maybe I'll do someting for the other lights later on. And that door really needs to be fixed.
My efforts mostly worked out and I was able to light up the model for a fraction of the cost of the official kit. But it's not perfect. A few lessons learned for custom lighting on a kit:
- Plan out beforehand. Get precise measurements if you have to.
- Painting the insides of your kit black will reduce light bleeding. I didn't do this enough.
- Some shielding like kitchen foil or plastic plates or electrical tape might be needed for other gaps where light still unintentionally shines through. I gave up on this because I had already closed up the kit.
Lastly, I still needed a better power source for the LEDs. At this point, I just had the wire channeled through a small hole I made on the removable panel with the male USB plugged into a phone charger on a power outlet. This setup worked, but I wanted something more mobile. I thought about using the power bank and USB switch that I already had, but that meant having to make something to put them in...








Comments
Post a Comment