Scratch-Built Base for Bandai Millennium Falcon 1/144
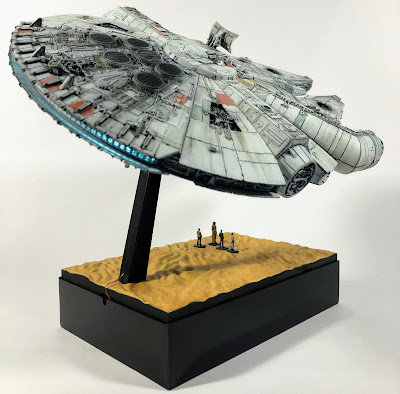
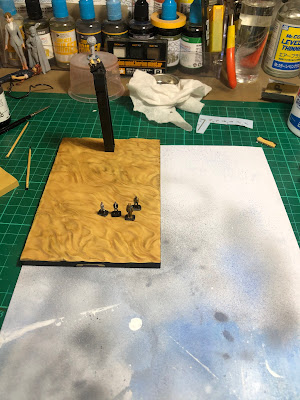
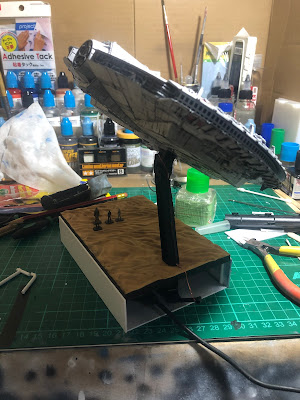
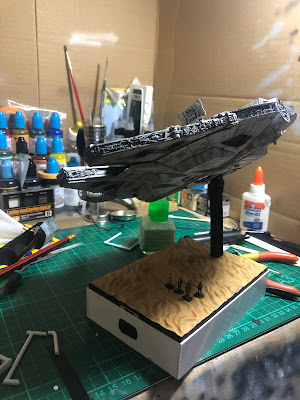
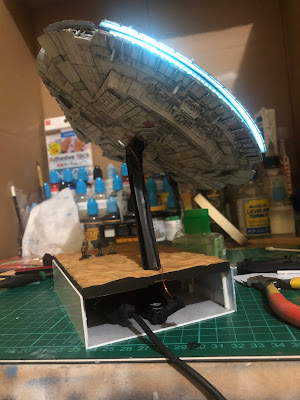
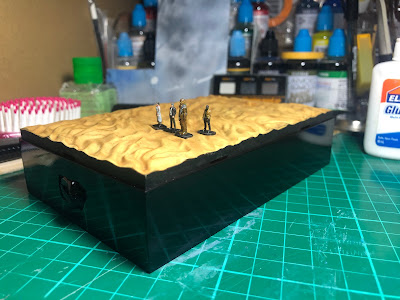
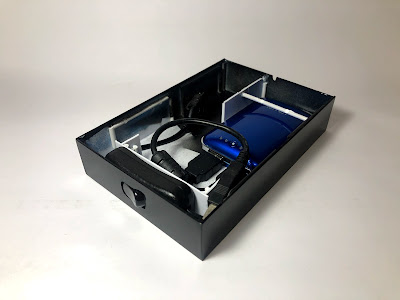
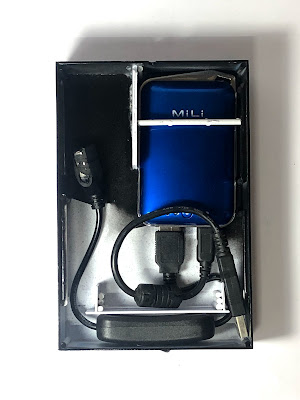
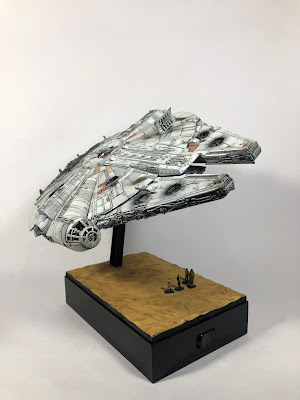
In the continuing tradition of giving myself more work than what I planned for, I had the urge to build a base that would conceal a power bank and a USB toggle switch for the lighting setup of my Millennium Falcon. I had never scratch-built anything with plastic before, but I thought a box would be an easy start. My idea was to make a base that the included sand-dune base could just sit on top of. A base for the base, if you will.
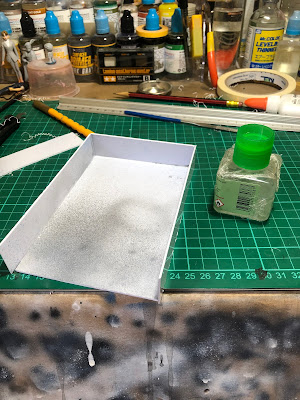
Fortunately, I already had a plastic plate on hand that I originally meant to use for testing paints. I cut out a piece the same size as the sand-dune base and then added walls around it. Cutting this pla-plate is the first time I found use for my Tamiya Plastic Scriber; It feels too unwieldy for scribing onto models.
Before doing this, I had always wondered how anyone would be able to finish a bottle of plastic cement. Scratch-building needs quite a lot, apparently. And this was one of the times when I wished I had the regular Tamiya Plastic Cement on-hand rather than the Extra Thin.
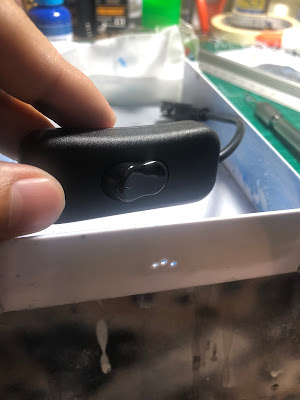
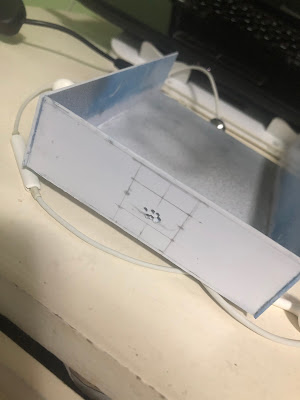
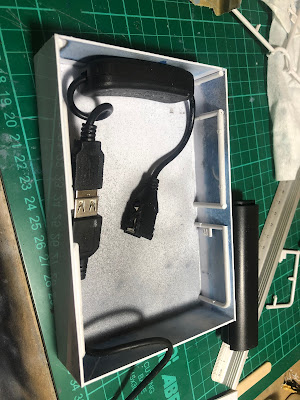
I started planning how to fit the stuff inside. This was when I discovered that my initial measurements were wrong and the switch wouldn't fit. I had to redo the walls. Good thing the cement hadn't cured yet. With the corrected walls in place, it was now time to carve out a hole for the switch.
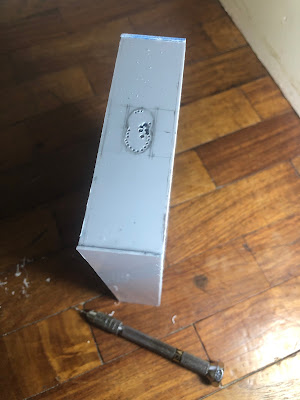
This time, I learned my lesson and knew to measure more carefully. Then I drilled small holes around where the switch would peak through so that it would be easier to pop the plastic out.
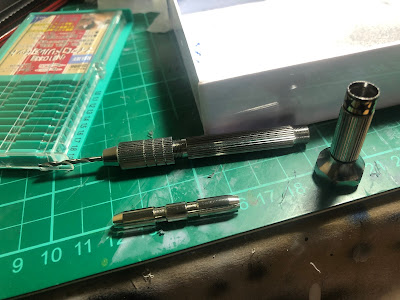
In the middle of drilling, the back of my Tamiya pin-vise came off. I had forgotten that there was another holder hidden in there.
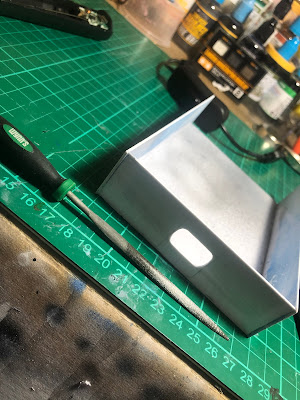
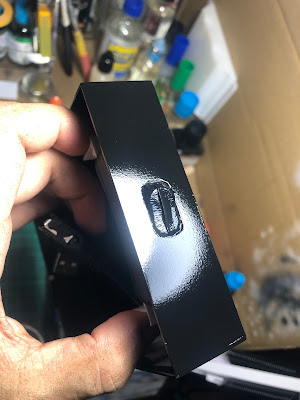
Next step was punching the hole out and filing the edges smooth. Thank you, rarely-used round metal file.
Then I super-glued the switch into place and added cut-up runners along the walls for the top base to rest on.
Now I could finally glue the rear side of the box.
I prepared a small hole in the back in case I'd need to run a USB extension cord through there.
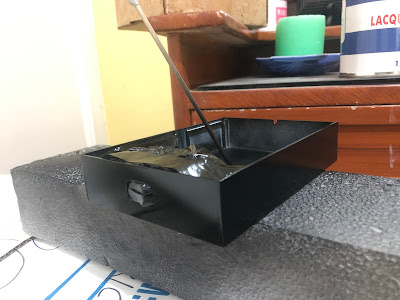
Next, I used a Bosny rattle can to paint the exterior.
Dat orange peel.
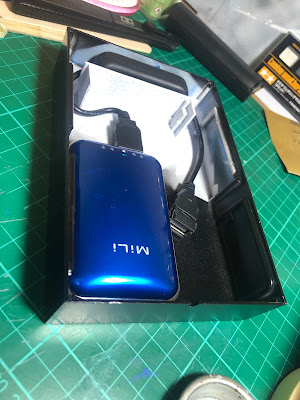
The cheap power bank that I bought for this still wouldn't fit. But then I remembered that I had a small one from maybe 10 years ago. Luckily, it fit and and could still hold a charge.
I added a a few more plates and runners inside for better support and to keep things in place.
The black paint had the side-effect of slightly thickening the walls, making the fit of the top base a bit too snug. But at least I'm sure the top and bottom parts of the base won't unintentionally come apart when I'm handling the model.
The benefit of this setup over the official lighting unit is that I can switch on the LEDs without having to touch the model itself.
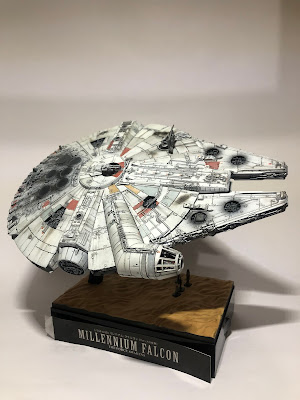
As a future addition to this base, I'm thinking of placing some kind of label on the side so that the height of the base isn't wasted. As of the time of writing, I'm still experimenting with printing my own vinyl stickers for this purpose. Like I said, it's a continuing tradition. It's certainly the most work I've put toward something that's essentially a night light.
In case anyone might want to make their own labels too: I found that the Cattle Trail JNL font by Jeff Levine is really close to the one that Bandai uses for its Star Wars kits.




Comments
Post a Comment