Building the G Generation-F SD BB RX-93 Nu Gundam
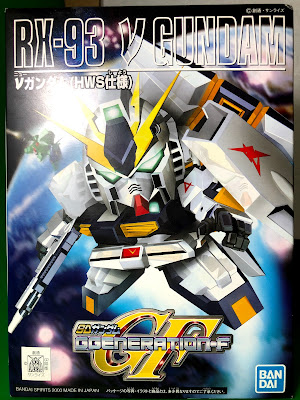
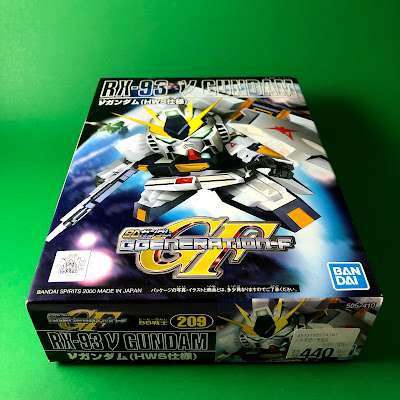
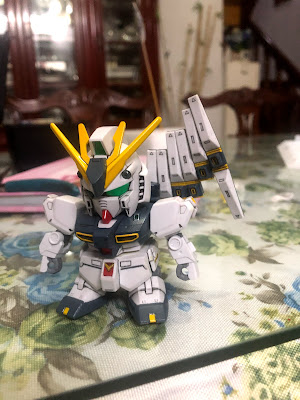
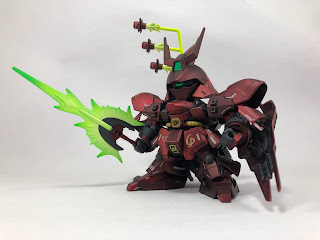
Like i mentioned in a previous post, this pandemic gave me the chance to work on a few kits in my backlog, one of which was this SD BB (No. 209) G Generation-F RX-93 Nu Gundam. I wanted to warm up with what I thought would be a simple kit before tackling the Millennium Falcon. I was right about the simple part, but this kit was much more involved than I thought.
Background
When I was last in Joshin Super Kids Land in Osaka, I had the Real Grade Nu Gundam in my shopping basket and needed to spend a bit more to qualify for tax-free. I actually had the newer BB Senshi Nu Gundam No. 387 in hand but cheaped out and swapped it for this, partly because of the included Heavy Weapons System parts. For just 440 yen, I can't say I regret the decision.
Color Separation
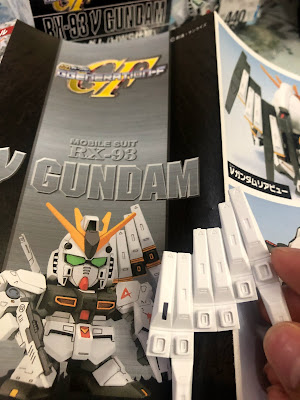
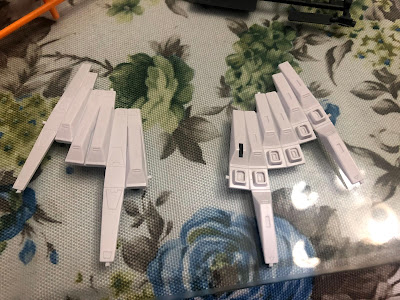
So back to the build. I've built a few SD kits so I know to not expect much color separation. And indeed, the mobile suit itself was about what you'd expect. But the fin funnels were just two whole solid-white pieces. I was already dreading the masking that I knew I would have to do. Or maybe I got spoiled by the SD Cross Silhouette RX-78-2 that I had just finished right before this.
Expectation versus reality
Gotta hand it to the dudes who do the color guides
Credit to Dalong.net. Check here first before picking up a kit.
Credit to Dalong.net
Masking and Painting
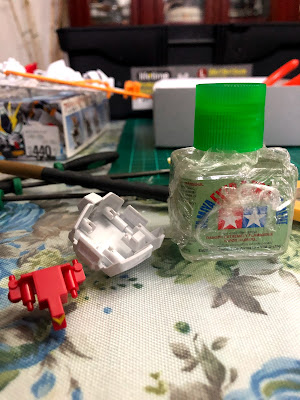
I didn't have an airbrush yet when I was working on this kit, so I thought to just correct the missing colors using masking tape, Gundam Markers and Bosny spray cans.
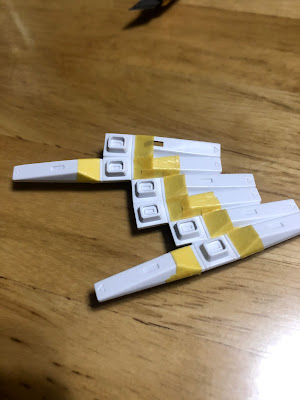
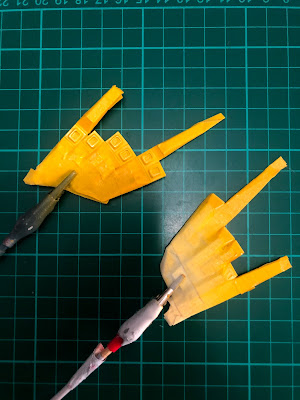
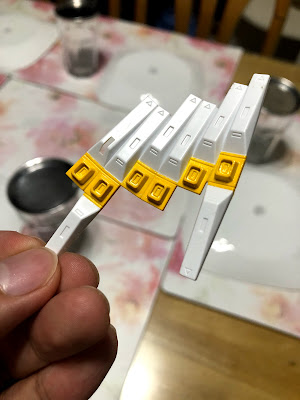
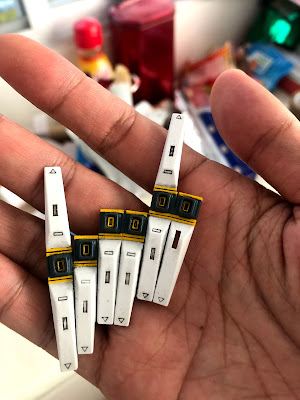
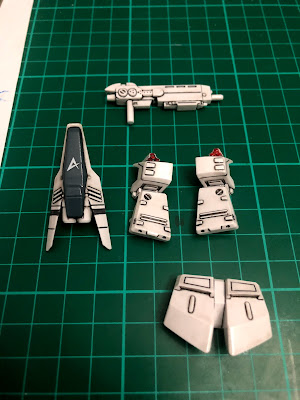
I first worked on the fin funnels because I knew they'd be the centerpiece and most challenging part of the build. I took some shortcuts by not priming and not painting the white, but these still needed several stages of work.
When the yellow had dried, I masked again so that I could spray dark gray on the center part of the funnels. Then I did the panel lining.
Painting the backside of the funnels was a similar process, but I forgot to take photos.
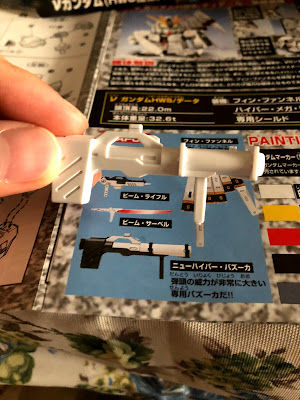
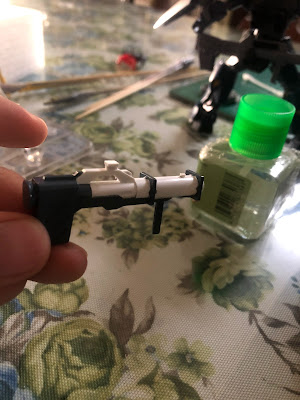
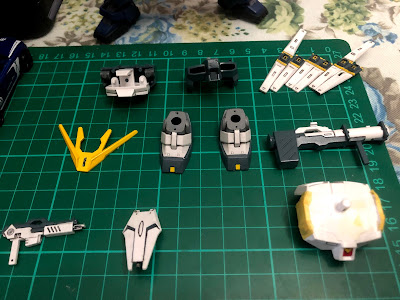
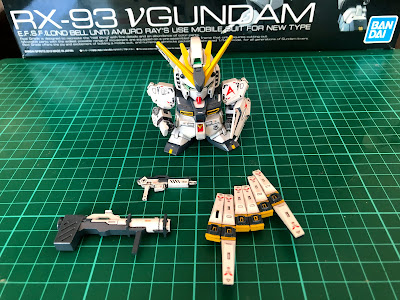
The bazooka, beam rifle, beam saber and the feet needed a lot of work too.
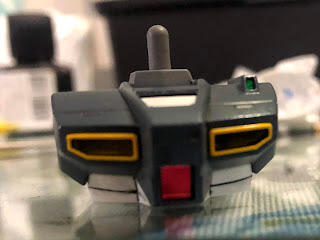
At least the chest was easy enough.
I cut a bit of green foil sticker for the camera.
With all this masking, however, I forgot to do the trick of sticking the tape on jeans or some other surface first to reduce the stickiness. Because of that, the parts that were masked had some adhesive residue that I couldn't remove. The look might've worked had I gone for a weathered finish.
Seam Removal
The kit has the seam lines you'd expect, but the ones along the side skirts and the shoulders were particularly tricky. And I don't know if it's just my kit, but they didn't align very well with mine; They needed quite a bit of filing to get the lines right.
Heavy Weapons System Parts
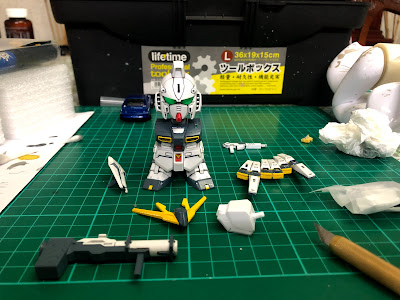
Since the HWS parts are mostly white, only the shield needed a lot of work. Though I worked on these, I don't expect to use them because clipping on the body armor pieces might scratch the dark gray paint on the chest, but I appreciate that the option is there.
I know the shoulder missiles are supposed to be white too.
Assembly
Forearms still lacking detailing
As you'd expect from an SD kit, assembly was as simple as can be. Nothing much to say here, except that the hands should be painted first before inserting them into the forearm because they won't be detachable after you close the seams on the forearms.
Water Slide Decals
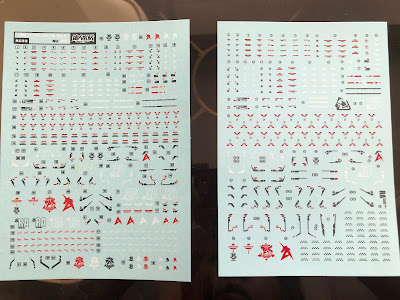
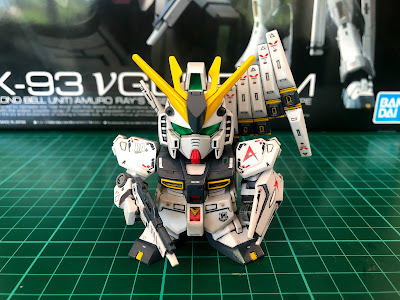
I already had Daling water slide decals for my RG Nu Gundam but I ordered Flaming Snow's equivalent sheet to compare the quality. For the Nu Gundam, or maybe just for the print that I got, the Flaming Snow sheet looks better. So since I no longer needed the Daling sheet, I thought to use it to enhance the SD Nu.
The rifle has to be displayed this way to hide the hollow side behind.
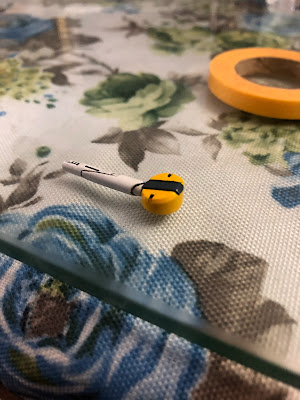
There's a beam saber too, but I didn't have the right paint for it at the time.
I hand-brushed some Future before applying the water slide decals, then sealed the decals with another coat of Future.
Final Thoughts
What I thought would be an afternoon's build with this kit turned out to be almost a week's worth of building and painting. The fin funnels in particular were a lot of work, but they're quite satisfying when completed.
Though I'm mostly pleased with how this build turned out, I'd do some things differently if I were to do it again.
- Prime and paint the whole piece including white parts
- Better masking so as to not leave residue
- Make thinner panel lines
- More patiently smoothen out merged parts or removed seams




Comments
Post a Comment