SD NZ-999 Neo Zeong - Building and Painting

Straight off the bat, let me say that if you want a representation of the Neo Zeong, please buy the original because Yolly's mold is pretty bad, especially the SD Sinanju packed in with the kit. But if your intention is to use just the Neo Zeong parts to make some kind of custom armor for another SD or Nendoroid or the like, this kit will be a cheap way to do so.

SD EX-Standard in the Neo Zeong
Kit Quality
The quality on this kit was just not there. Huge mold lines, poor fit, rough surfaces, shallow details, weird scratches, and loose joints. Stay away from this unless you can overlook all these problems or if you're willing to fix them. I wanted a practice kit, and that's exactly what I got and more.

Major sanding and scraping required


Huge gaps

Shallow/missing details

Rough surfaces
Painting and Detailing
The SD Neo Zeong is your usual SD kit that's quick and simple to build but seriously lacking in part separation. Because of that, a lot of tedious multi-stage masking is needed for the correct color apps. Well, it's either masking or hand-painting. There are also huge seams on the shoulder armor and the propellant tanks, among others.

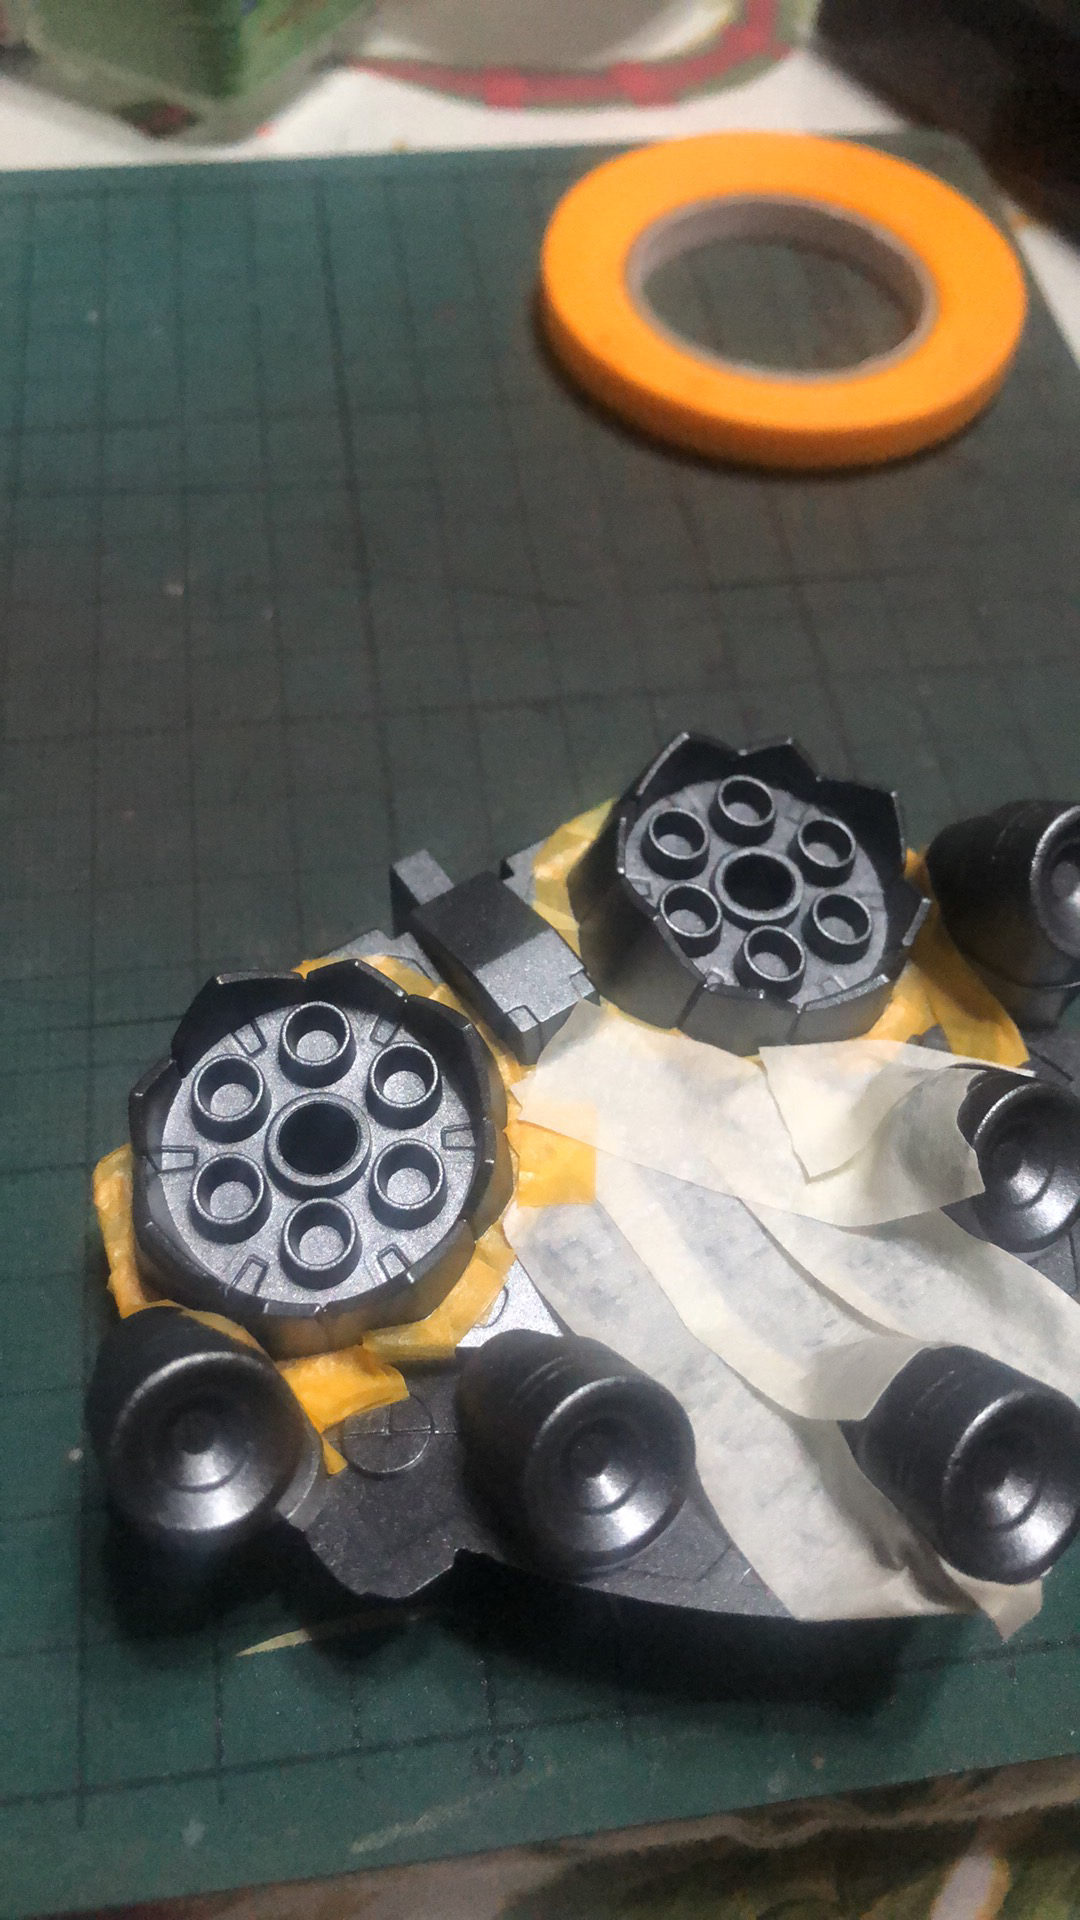


And then there's the SD Sinanju and its sleeves that need to be reverse-washed or hand-painted.

After this, I still had to mask off the sleeves before
painting the red and then hand-painting the gray details
And let's not forget about the infamous Sinanju shield. This needed a lot of work partly because it was my first time reverse-washing, but also because the molded details were just so shallow.


Detailing
For additional details, I used some third-party waterslide decals meant for the RG Sinanju and Sazabi kits. Some extra details, especially on the SD Sinanju, were hand-painted.

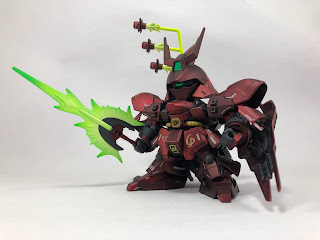
Preview of the completed kit
Displaying
The kit actually comes with its own fixed stand, but the one that came with this knock-off was loose and crooked. I experimented with a lot of different stands, and that ended up being a project on its own, so I hope to cover just that in the next post.


Comments
Post a Comment