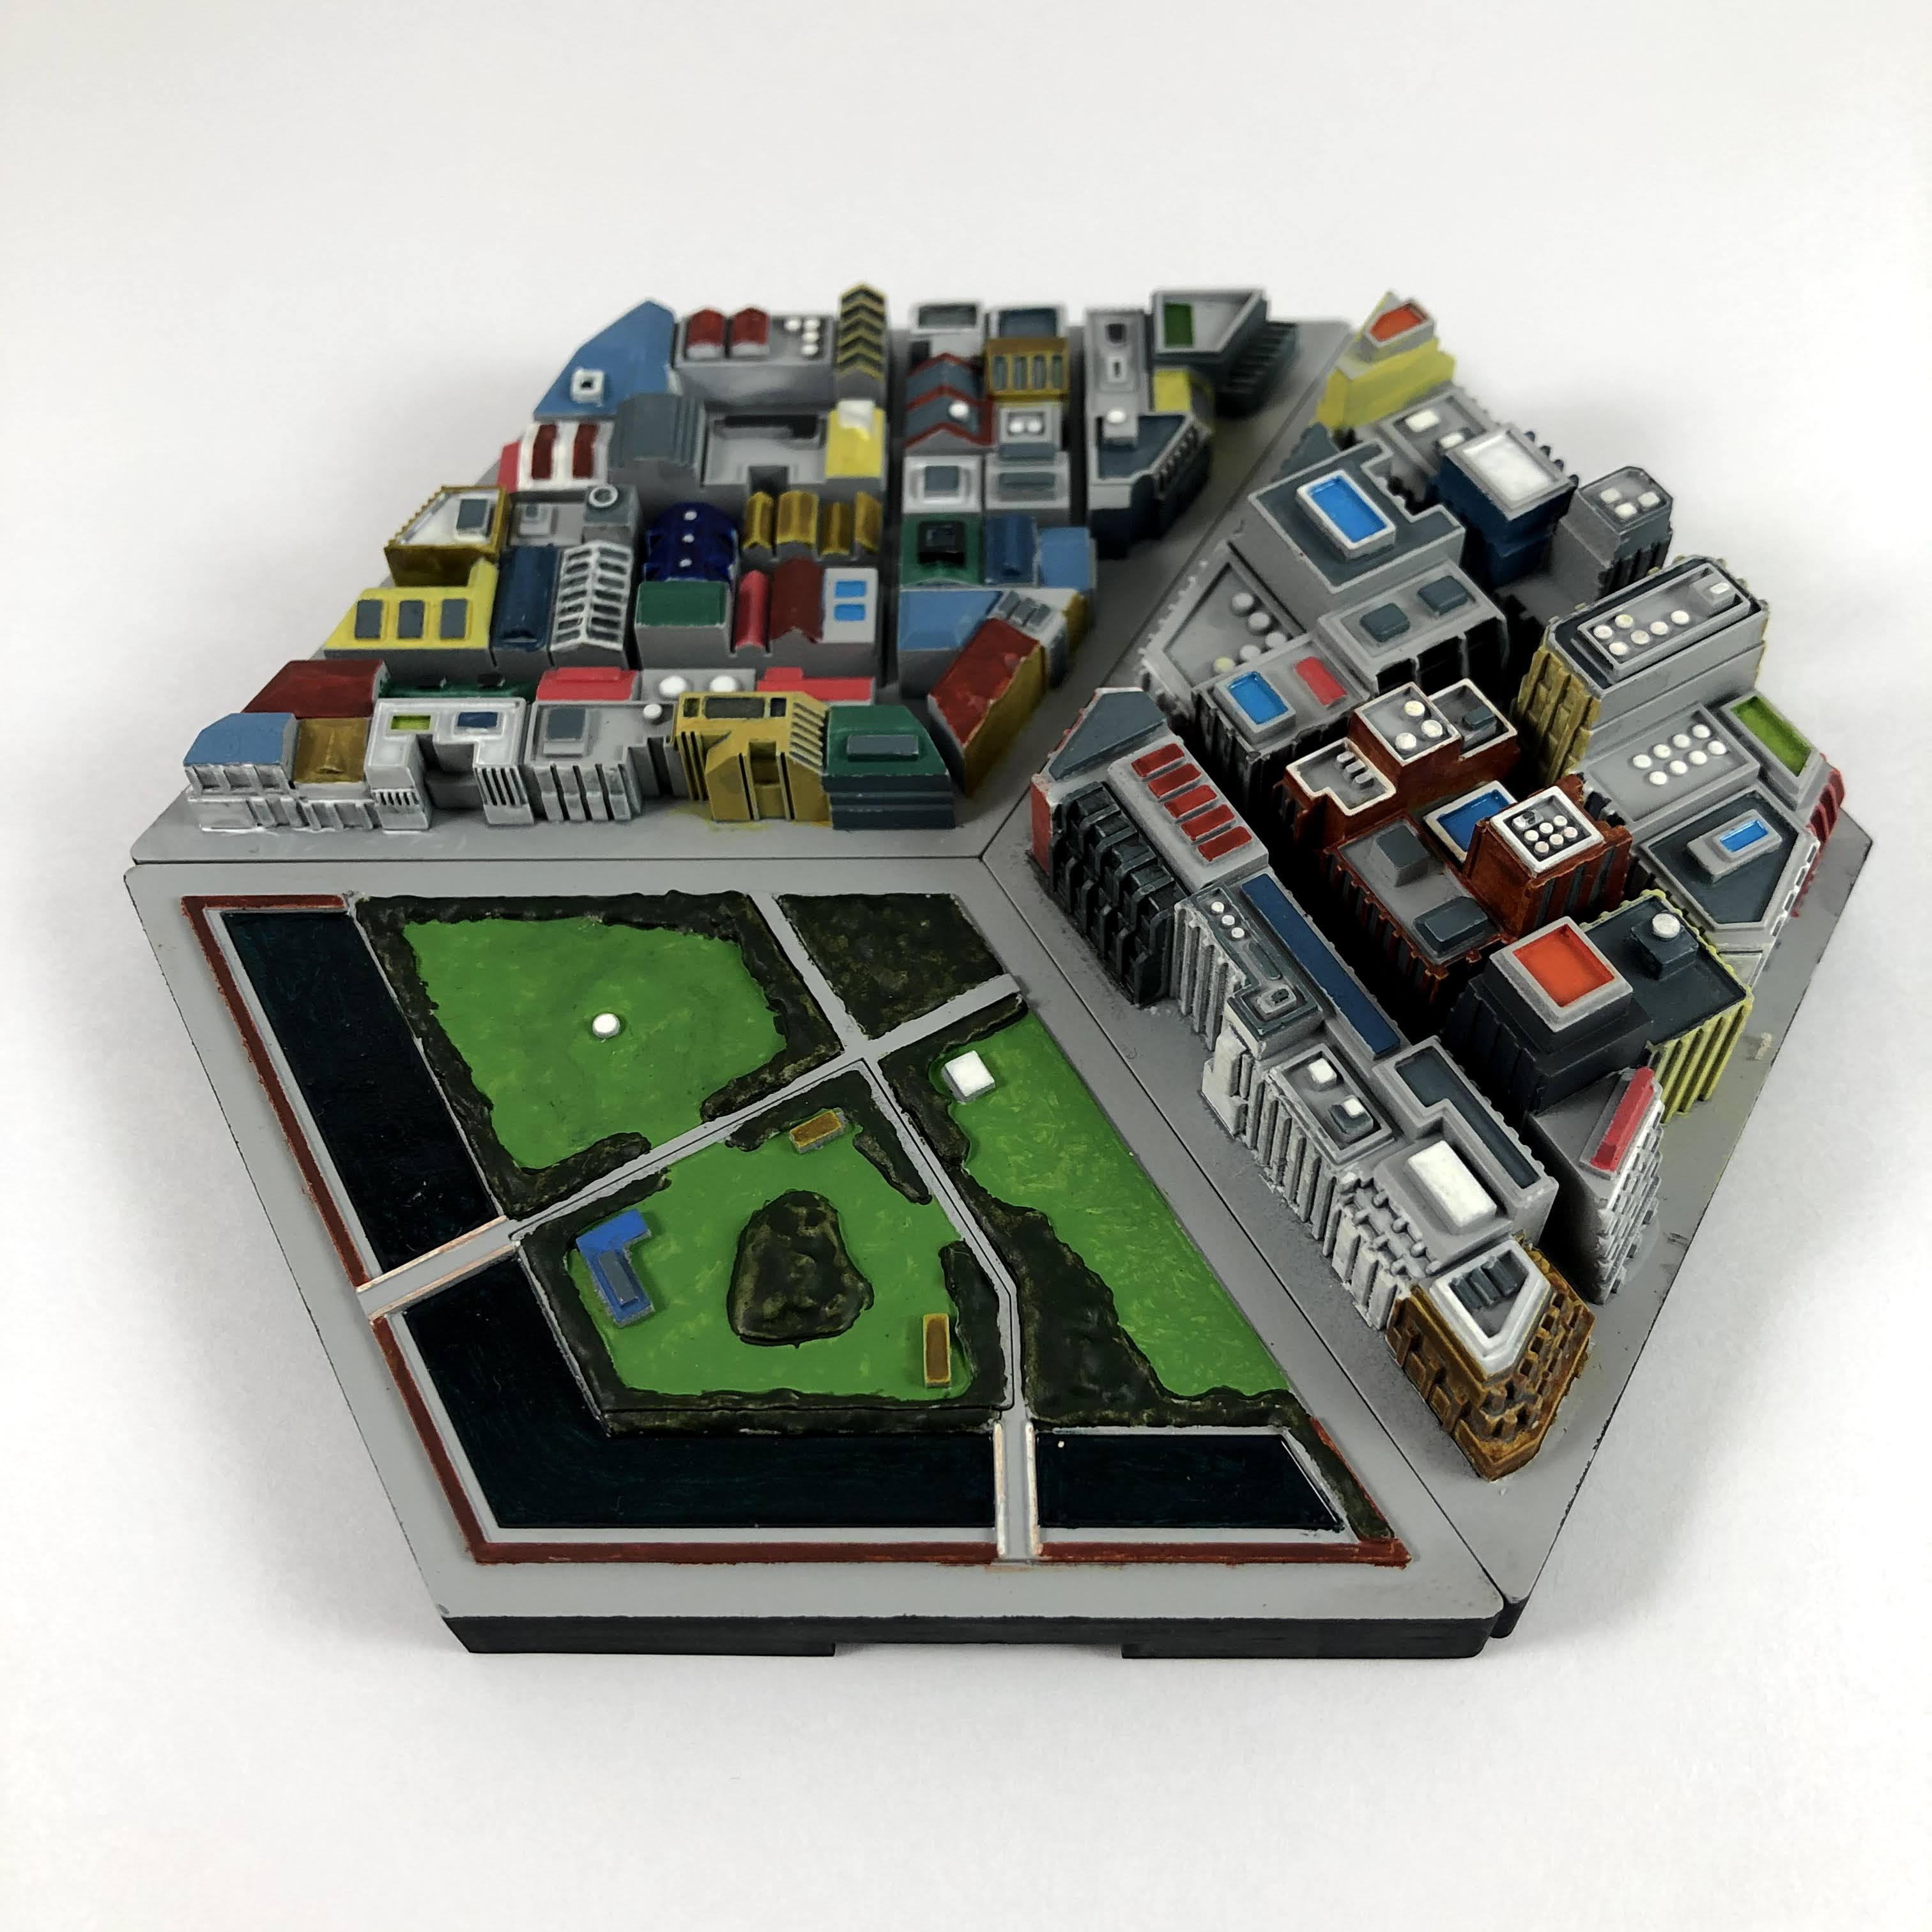
Painting the 30MM Customize Scene Base (Landscape Ver.)

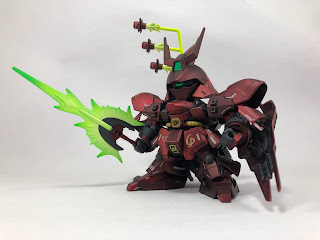
Like I mentioned in the previous post, I experimented with different bases for the SD Neo Zeong. Figma stands couldn't handle the weight. The Action Base 1 was just too tall. The Action Base 2 was actually pretty good though a bit unstable due to the SD Neo Zeong's weight. But then I saw the 30-Minute Missions Customize Scene Base Landscape Version and thought that it would be a great way to emphasize or exaggerate the Neo Zeong's size.

The base comes in three parallelogram-shaped plates that can be rearranged to suit your display. Each plate has a removable piece that covers the attachment point for a support arm. Unfortunately, the arm that comes with this package is just too thin for the Neo Zeong.
As you can see in the picture above, the Action Base 2 arm crudely fits but also covers up a lot of nice details. But this was a problem to for later. And I couldn't stand to just let the base be gray when the packaging showed how good it could look when painted.

It took maybe a dozen hours of hand-painting to finally get to a point where I was mostly satisfied with the look. Then I sealed it with clear gloss, panel-lined some details, then finished with a flat topcoat.


Comments
Post a Comment